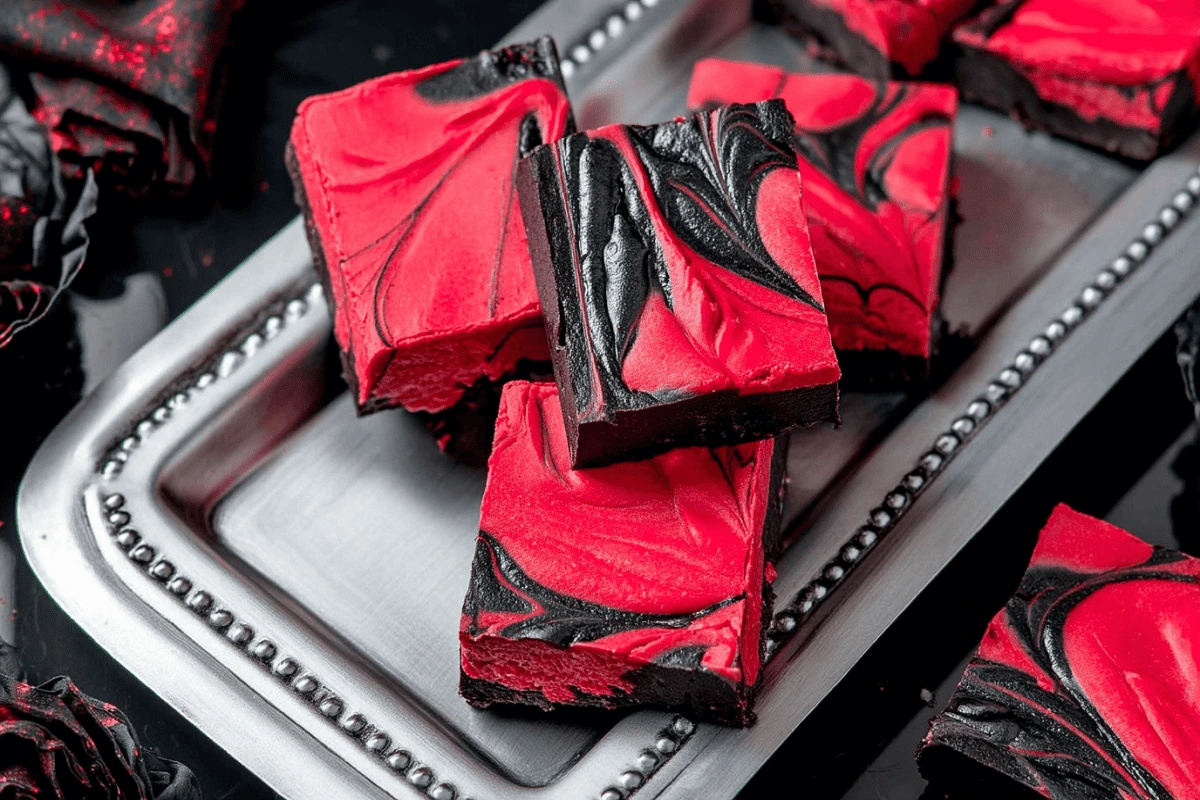
Homemade Vampire Fudge: Ultimate Swirls for Wicked Halloween Parties
Introduction
I still remember the first Halloween party where I brought out a tray of Homemade Vampire Fudge. The dramatic red and black swirls caught everyone’s eye long before the first bite. When guests finally tasted it, the creamy chocolate base with its spooky “bloody” design had kids giggling and adults coming back for seconds.
This recipe captures everything we love about Halloween: playful, bold, and irresistibly sweet. If you’ve ever browsed through Halloween dessert inspiration from Food Network, you know themed treats can transform an ordinary gathering into something unforgettable. Whether it’s for a haunted house party, a classroom celebration, or a cozy family night, this fudge delivers rich flavor and eye-catching style that will vanish from the table in minutes.
What Is Homemade Vampire Fudge?
At its core, Homemade Vampire Fudge is a creamy, rich chocolate fudge that’s given a spooky Halloween makeover. The magic comes from swirling red food coloring into a dark cocoa base, creating a “bloody” marble effect that looks straight out of a vampire movie. It’s not just candy, it’s edible theater that plays perfectly into the spirit of the season.
Fudge itself has long been an American favorite, loved for its smooth texture and indulgent flavor. Adding a vampire twist takes something familiar and makes it festive. The bold contrast of colors makes every piece feel like a mini work of art, and it always sparks conversation at Halloween gatherings. Whether you’re channeling old monster movies or simply want to surprise your guests with a treat that’s as fun to look at as it is to eat, this fudge delivers on both style and taste.
Why It’s Popular
There’s a reason Homemade Vampire Fudge pops up everywhere during October. It’s not just the taste, it’s the drama of those swirls. On platforms like Pinterest and TikTok, food that looks striking instantly goes viral, and this fudge has all the visual appeal needed to stop the scroll. The glossy red streaks against a jet-black base scream Halloween, making it one of the most photographed desserts of the season.
It’s also incredibly practical for parties. Unlike elaborate cakes or messy desserts, fudge is bite-sized and easy to transport. You can slice it into neat squares, pack it into little bags, or display it on a spooky platter. Kids love the playful “vampire bite” look, while adults appreciate how quickly it disappears from the table. Paired with other Halloween treats like spooky Easy Ghost Brownies, it helps set the perfect haunted vibe for any celebration.
Regular Fudge vs Homemade Vampire Fudge
Classic fudge is beloved for its creamy texture and chocolate richness, but Homemade Vampire Fudge takes it to another level by turning dessert into décor. The difference isn’t just in appearance, it’s in the whole experience.
Here’s a quick breakdown:
| Feature | Regular Fudge | Homemade Vampire Fudge |
|---|---|---|
| Appearance | Solid brown or chocolate-colored squares | Red and black swirls with a “bloody” effect |
| Occasion | Everyday treat, holidays, gift boxes | Halloween parties, spooky movie nights |
| Flavor | Sweet, chocolatey, sometimes nutty | Classic fudge flavor with dramatic presentation |
| Decorative Appeal | Simple, minimal garnish | Eye-catching centerpiece for dessert tables |
| Kid Appeal | Tasty, but visually plain | Fun, spooky, and instantly exciting |
When placed side by side, the Halloween version always gets the extra attention. It’s the same creamy, melt-in-your-mouth fudge, but with a twist that feels tailor-made for October. For even more seasonal ideas, you can browse our Best Hot Fudge Recipe to see how classic flavors adapt to creative occasions.
Ingredients for Homemade Vampire Fudge
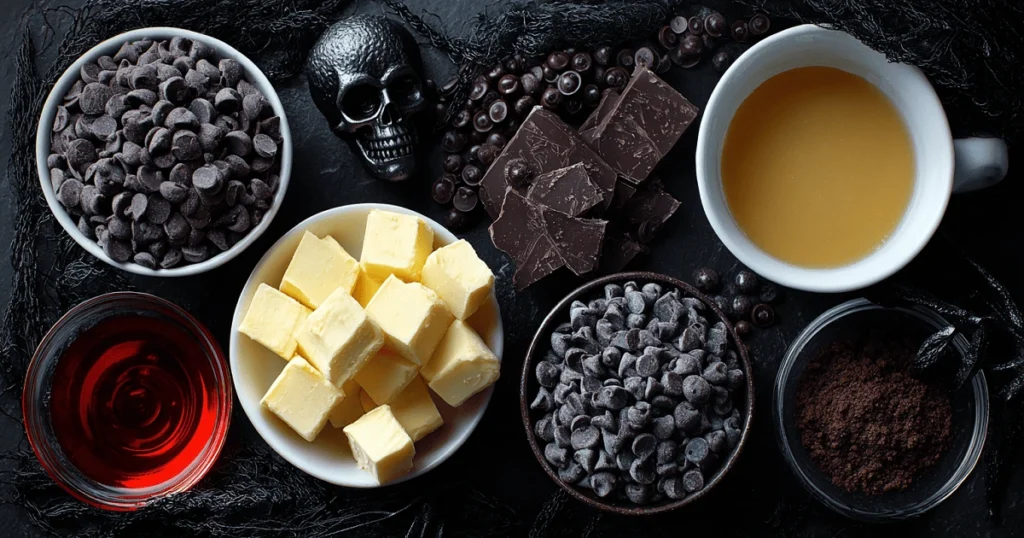
The magic of Homemade Vampire Fudge comes from a handful of simple ingredients that work together to create bold flavor and that unforgettable swirl. Let’s break them down.
The Fudge Base
Every good fudge starts with chocolate. For this recipe, semi-sweet chocolate chips combine with sweetened condensed milk to form a smooth, rich base. A little butter helps with texture, while a splash of vanilla balances the sweetness.
The Swirl Effect
This is where the fun begins. Black cocoa powder gives the fudge its dark, almost midnight backdrop, while bright red gel food coloring creates that bloody marble effect. Gel is important because it keeps the color vibrant without watering down the fudge.
Optional Add-Ins
Want to take it further? Mix in crushed cookies, candy eyes, or even sprinkles for texture. For party platters, try pairing with fun Ghost Oreo Balls for a playful mix.
Substitution Table
| Ingredient | Substitute Option | Notes |
|---|---|---|
| Semi-sweet chocolate chips | Dark chocolate chips | Deeper, less sweet flavor |
| Sweetened condensed milk | Coconut condensed milk | Dairy-free alternative |
| Butter | Vegan margarine | For plant-based version |
| Black cocoa powder | Unsweetened cocoa + black gel dye | Similar color, slightly different taste |
| Red gel food coloring | Beetroot powder (natural option) | Softer hue, less vibrant than gel |
If you’re curious about the role chocolate type plays, check out the types of chocolate explained by King Arthur Baking.
How to Make Homemade Vampire Fudge
Making this spooky treat is easier than it looks. Follow these steps and you’ll end up with a tray of rich, dramatic fudge that steals the spotlight at any Halloween table.
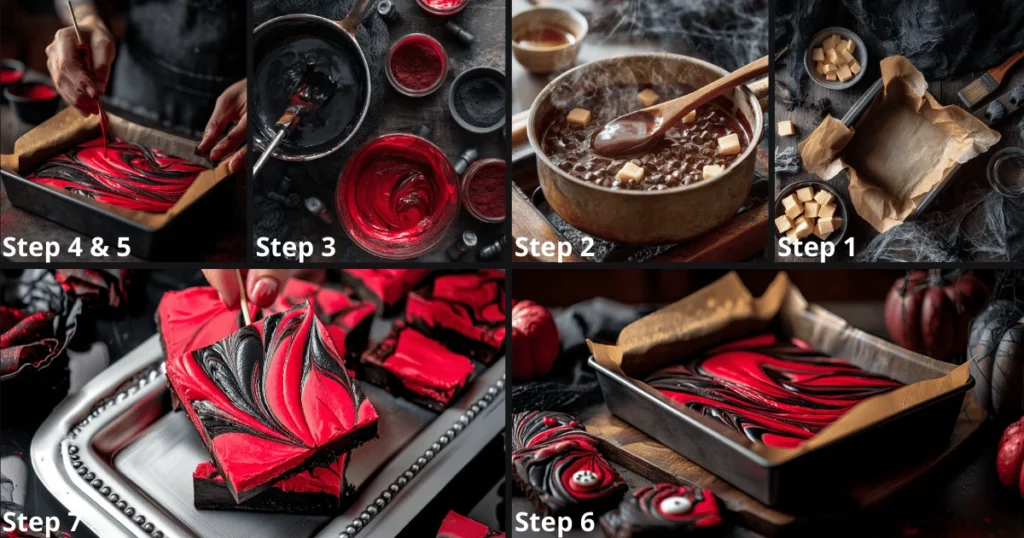
1️⃣ Prepare the Pan
Line an 8×8 inch square pan with parchment paper, leaving some overhang to lift the fudge out later. Lightly grease the paper for easy removal.
👉 Pro Tip: Use binder clips to hold the parchment in place so it doesn’t shift when pouring the fudge.
2️⃣ Melt the Base
In a saucepan over low heat, combine the chocolate chips, condensed milk, and butter. Stir gently until smooth and glossy. Remove from heat and stir in vanilla.
👉 Pro Tip: Avoid high heat, which can scorch the chocolate and ruin the texture.
3️⃣ Divide and Color
Pour half of the melted fudge into a heatproof bowl. Stir black cocoa into the saucepan mixture for the dark base, and add red gel coloring to the reserved portion.
4️⃣ Layer the Fudge
Spread a layer of black fudge into the prepared pan. Drop spoonfuls of red fudge over the top, alternating colors.
5️⃣ Swirl for Effect
Drag a toothpick or skewer through the fudge in a random pattern to create a marbled, bloody effect.
👉 Pro Tip: Less is more. A few gentle swirls will give sharp contrast, while overmixing will blur the colors.
6️⃣ Chill to Set
Refrigerate for at least 2 hours or until firm.
7️⃣ Slice and Serve
Lift the fudge out with the parchment and cut into squares. For a spooky platter, pair with festive Halloween Monster Cookies for a colorful spread.
The Science Behind Vampire Fudge
The secret to the smooth, melt-in-your-mouth texture of Homemade Vampire Fudge is sweetened condensed milk. Unlike regular milk, it already contains sugar that helps stabilize the chocolate as it melts, preventing graininess and keeping the fudge creamy even after chilling. The fat from butter further softens the structure, giving each bite that signature richness.
Color plays an important role too. Gel food coloring is the best choice because it delivers intense hues without altering consistency. Liquid food dye, on the other hand, can make the mixture too thin and affect the set.
| Coloring Type | Pros | Cons |
|---|---|---|
| Gel Coloring | Bold, vibrant, won’t dilute | Requires precise mixing |
| Liquid Coloring | Easy to find, inexpensive | Weak color, can thin fudge |
This balance of stabilized chocolate and concentrated color is what makes vampire fudge both tasty and striking.
Serving Suggestions and Styling
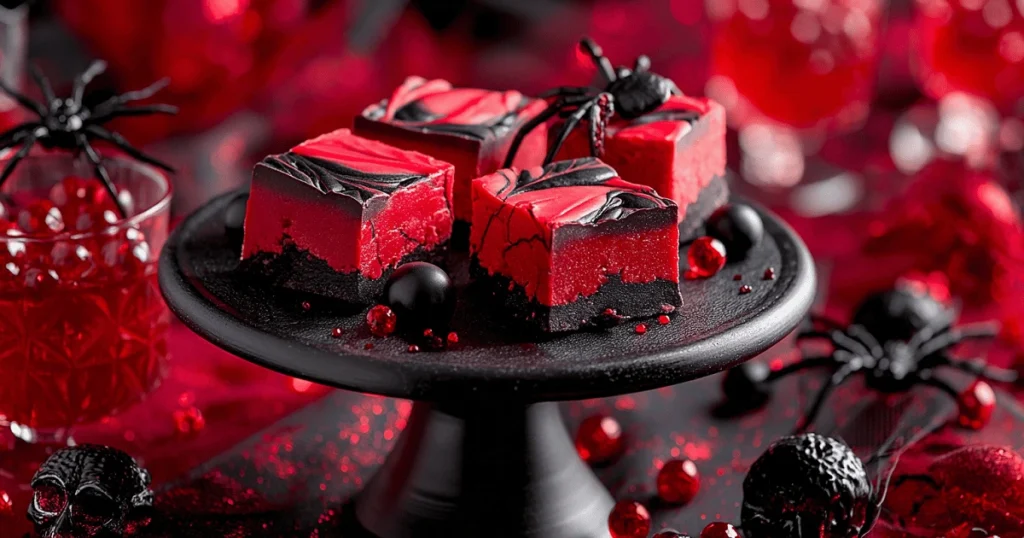
One of the best parts of Homemade Vampire Fudge is how versatile it looks on a Halloween table. For a party-ready presentation, slice the fudge into even squares and arrange them on a black or silver platter with spooky props like plastic spiders or cobwebs. If you’re serving kids, tuck the pieces into mini cupcake liners for a grab-and-go option that keeps little hands clean.
For added flair, garnish with candy eyes, edible glitter, or a drizzle of red gel on top just before serving. Pairing with other themed desserts like festive Halloween Monster Cookies creates a colorful spread that stands out in photos. And if you’re looking for styling inspiration, take a cue from creative plating ideas from Epicurious to make your fudge Instagram-ready.
Variations of Homemade Vampire Fudge
The classic red-and-black swirl is striking, but this recipe is easy to adapt depending on your taste or dietary needs. Here are a few ways to switch it up:
- No-Bake Mini Bites – Pour the fudge into silicone molds instead of a pan to create bite-sized shapes that set quickly. Perfect for party favors or classroom treats.
- Sugar-Free Version – Swap sweetened condensed milk for a sugar-free variety and use monk fruit or stevia chocolate chips to reduce the sweetness without losing texture.
- Gluten-Free Version – Naturally gluten-free, but double-check add-ins like cookies or sprinkles to keep it safe for all guests.
- Kid-Friendly Fun – Add candy corn or gummy vampire teeth for a playful twist kids will love.
- Indulgent Chocolate Lovers’ Edition – Stir in white chocolate swirls or top with crushed Oreos for an over-the-top version.
Pairing these ideas with sweet-and-salty Monster Munch Trail Mix turns your dessert table into a Halloween feast.
Make-Ahead and Storage
One of the reasons Homemade Vampire Fudge is so popular for parties is how well it keeps. You can easily prepare it in advance and store it until you’re ready to serve. Once the fudge has fully set, transfer the squares to an airtight container with parchment paper between the layers to prevent sticking.
In the refrigerator, the fudge stays fresh for up to 7 days. If you’d like to plan further ahead, wrap the whole slab tightly in plastic wrap, place it in a freezer-safe bag, and freeze for up to 3 months. When you’re ready to serve, move it to the fridge overnight to thaw slowly, which preserves the creamy texture.
For more effortless seasonal treats that can be made in advance, check out our easy dessert collection. It’s a great way to mix and match desserts for your spooky spread.
Troubleshooting and Expert Tips
Even though Homemade Vampire Fudge is simple to make, a few small details can make the difference between good and perfect. If your fudge turns out too soft, don’t worry. Pop it back into the refrigerator for another hour to help it firm up. If it still feels sticky, cut smaller squares and serve chilled.
Cracks on top usually mean the mixture was stirred too vigorously or set too quickly. Stir gently and make sure your chocolate melts evenly over low heat to prevent this. Another common issue is dull swirls. This happens when liquid food coloring is used instead of gel, which weakens both the color and the texture. Stick to gel for bold contrast.
For another chocolatey treat that requires a little finesse, try our decadent fudgy chewy brookies. They share the same rich texture and are just as irresistible.
FAQ About Homemade Vampire Fudge
Can I make vampire fudge without condensed milk?
Yes, but the texture will be less creamy. You can substitute with heavy cream and sugar, though it requires more cooking and careful stirring.
How do I keep the colors bright?
Use gel food coloring instead of liquid dye. Gel is concentrated, giving bold results without thinning the mixture.
Can kids help make this recipe?
Absolutely. Kids can help swirl the colors and decorate with candy eyes or sprinkles. Just be sure an adult handles the stovetop melting step.
Can I double the batch?
Yes, simply use a 9×13 inch pan instead of an 8×8 and double all ingredients. The setting time may increase slightly.
What’s the best chocolate to use?
Semi-sweet chocolate chips work well for balance, but dark chocolate creates a richer flavor. For more insight, read about types of chocolate explained by King Arthur Baking.
Conclusion
Homemade Vampire Fudge proves that a simple dessert can make the biggest impact on a Halloween table. With its creamy texture, bold red and black swirls, and endless serving possibilities, it’s the kind of treat that looks impressive but is surprisingly easy to make. From party platters to classroom celebrations, this fudge always sparks excitement and disappears fast.
Don’t be afraid to play with variations whether sugar-free, no-bake mini bites, or over-the-top indulgent versions, there’s a style to match every celebration. Pair it with other favorites like our Halloween Ghost Brownies for a dessert lineup that’s as spooky as it is delicious.
Save this recipe and share it with your friends for inspiration. And if you try your own twist, leave a comment and let us know how it turned out.
© 2025 | KinsleyRecipes.com. All Rights Reserved.
Print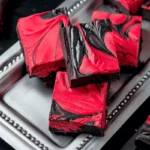
Homemade Vampire Fudge: The Ultimate Spooky Treat That Disappears Fast
- Total Time: 2 hours 25 minutes
- Yield: 16 squares
- Diet: Vegetarian
Description
Homemade Vampire Fudge is a rich chocolate fudge swirled with bold red and black colors, perfect for Halloween parties. Creamy, spooky, and surprisingly easy to make, this treat disappears fast from any dessert table.
Ingredients
-
3 cups semi-sweet chocolate chips
-
1 can (14 oz) sweetened condensed milk
-
4 tbsp unsalted butter
-
1 tsp vanilla extract
-
2 tbsp black cocoa powder
-
Red gel food coloring (as needed)
-
Optional: candy eyes, sprinkles, crushed cookies
Instructions
1️⃣ Prepare the Pan
• Line an 8×8 inch baking pan with parchment paper.
• Lightly grease the paper for easy fudge removal.
2️⃣ Melt the Base
• In a saucepan over low heat, melt chocolate chips, condensed milk, and butter.
• Stir until smooth, then remove from heat and stir in vanilla.
3️⃣ Divide and Color
• Pour half the mixture into a bowl.
• Add black cocoa to the saucepan fudge, and red gel coloring to the reserved portion.
4️⃣ Layer the Fudge
• Spread the black fudge into the pan.
• Drop spoonfuls of red fudge on top.
5️⃣ Swirl the Colors
• Use a toothpick or skewer to drag through the fudge, creating a marbled swirl.
6️⃣ Chill
• Refrigerate for at least 2 hours, or until firm.
7️⃣ Slice and Serve
• Lift fudge from the pan, cut into squares, and style for your Halloween table.
Notes
-
For bold color, always use gel food coloring. Liquid dye can weaken the swirl.
-
Add candy eyes or sprinkles before chilling for extra Halloween flair.
-
Fudge can be made ahead and stored in the fridge for a week or frozen for 3 months.
- Prep Time: 15 minutes
- Cook Time: 10 minutes + Chill Time: 2 hours
- Category: Dessert
- Method: No-Bake
- Cuisine: American
