

Cooking thin chicken breast sounds easy—but getting it just right is harder than it looks. Because of its minimal fat and quick-cooking nature, it’s easy to underdo or overdo. That leaves many home cooks asking: how do you know when thin chicken is cooked?
Knowing when your chicken is fully cooked and safe to eat comes down to a few simple but critical indicators—color, texture, internal temperature, and cooking time. If you’re unsure, the USDA’s food safety guidelines recommend a minimum internal temperature of 165°F (74°C) for poultry.
Still, you may not always have a thermometer. That’s why we’ve compiled all the visual, physical, and timing clues you need to confidently serve chicken that’s juicy, tender, and fully cooked—every single time.
Why Cooking Thin Chicken Is So Tricky
Thin cuts, like sliced chicken breast or cutlets, cook quickly. But that also makes them easy to overcook or undercook. These cuts don’t contain much fat or connective tissue, so they dry out fast and show doneness less obviously.
How Do You Know When Thin Chicken Is Cooked?
Let’s walk through the key signs and checks that work whether you’re baking, pan-frying, grilling, or air frying.
1. Color Change: From Glossy to Opaque
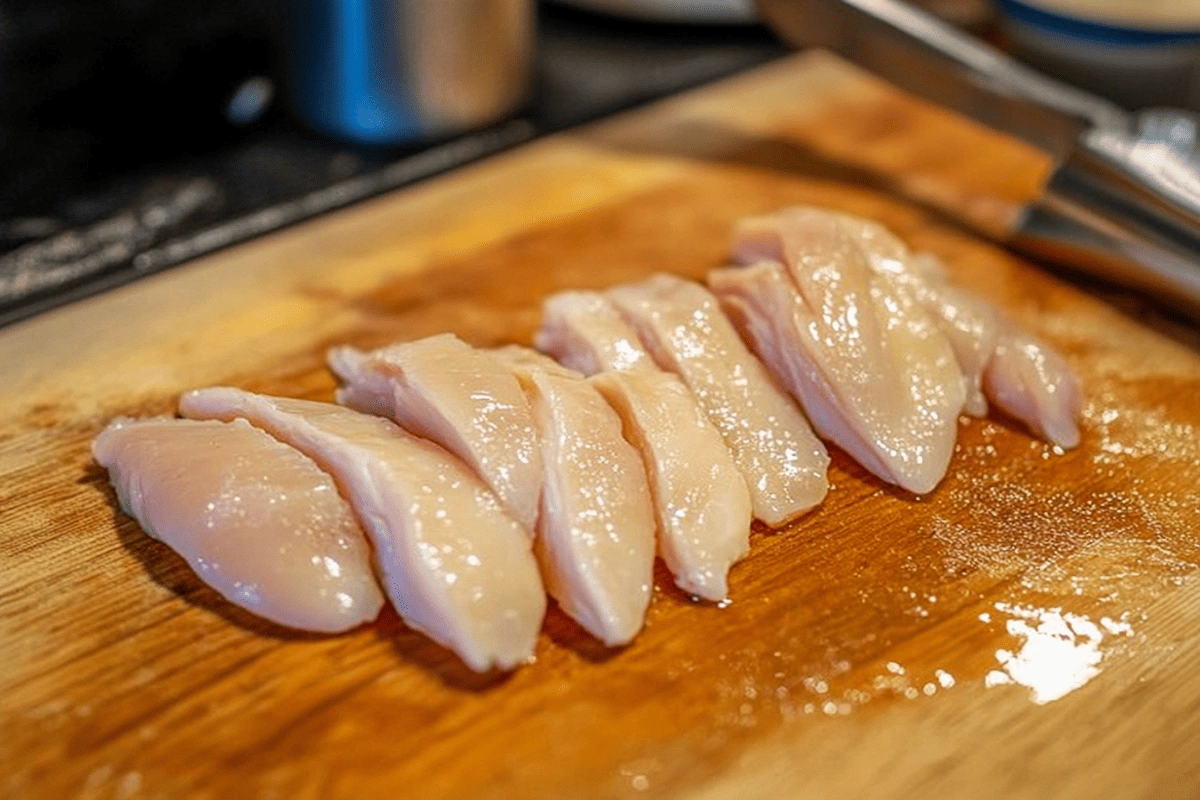
As chicken cooks, its color changes from translucent pink to opaque white. Thin chicken should appear evenly white throughout. Glossy or see-through centers mean it’s still raw.
-
Raw chicken: Shiny, pink, jelly-like

-
Cooked chicken: Opaque white, slightly firm texture
2. Juices Run Clear
Another classic method: cut the thickest part and check the juices. If the juices run clear, the chicken is likely fully cooked. If they’re pink or reddish, it needs more time.
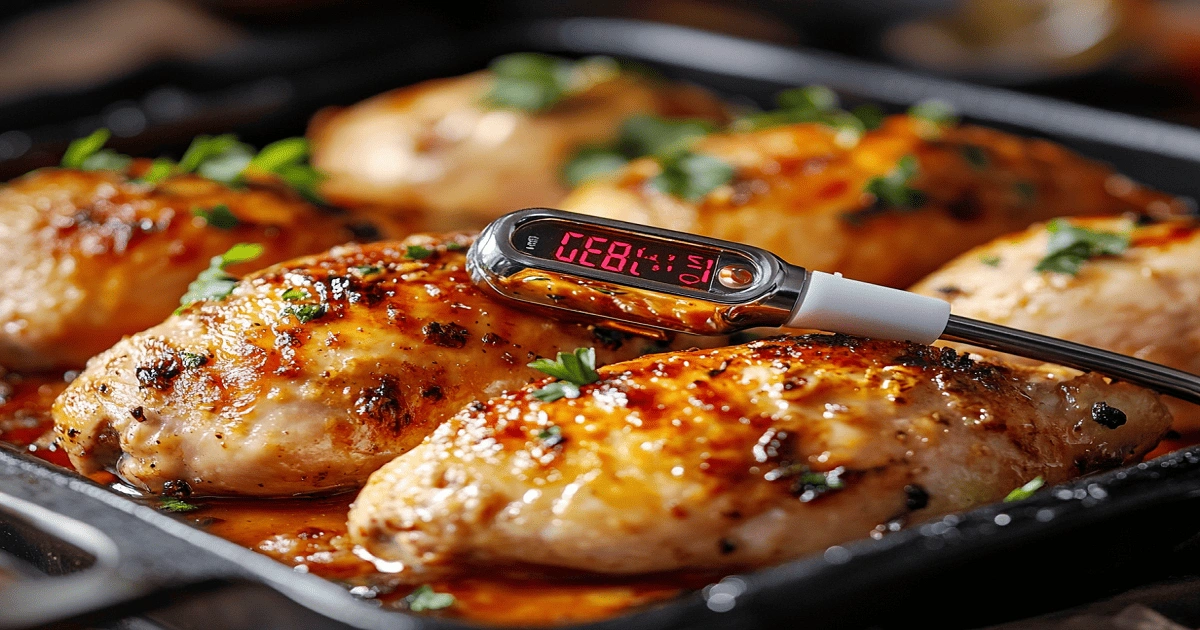
3. Internal Temperature (Best Practice)
The most reliable method is using a digital thermometer. Thin chicken should read at least 165°F at its thickest point.
Don’t have a thermometer? This Thermoworks guide explains how to use one correctly—especially on small, thin cuts.
4. Texture: Firm but Not Rubbery
Gently press the surface with tongs or a fork. Properly cooked chicken will:
-
Feel firm and bouncy
-
Not be mushy, wobbly, or slimy
-
Offer some resistance when cut
5. No Pink Streaks Inside
Slice the center. It should be white throughout, not grayish or pink. Slight pink near bones (in thicker cuts) may still be safe, but thin cuts should be fully white for both texture and safety.
6. Cooking Time Guidelines
Here’s a breakdown of average cooking times for thin chicken (½ inch thick):
| Method | Temp | Time Estimate |
|---|---|---|
| Pan-frying | Medium heat | 3–4 minutes per side |
| Oven baking | 375°F | 15–18 minutes |
| Air frying | 360°F | 8–10 minutes |
| Grilling | Medium heat | 4–5 minutes per side |
For more detail, visit our internal guide on how long thin chicken takes in each method.
7. Let It Rest
After cooking, let chicken rest for 5 minutes. Carryover heat finishes the cooking process and redistributes juices.
This tip is explained in detail in the Serious Eats guide to carryover cooking.
8. Knife Test: How to Check Without a Thermometer img 2
If you don’t have tools handy:
-
Cut into the center
-
Look for even whiteness
-
Check juice clarity
-
Feel resistance when slicing
9. Size Shrinkage as a Visual Clue
Raw chicken appears plumper. When fully cooked, it shrinks slightly and becomes more compact and rounded. Uneven size changes may mean it’s not fully done.
10. Time + Method = Confidence
Use both the cooking time and appearance checks for confidence. The combo of internal temperature, color, texture, and juice clarity will never steer you wrong.
Understanding the unique nature of thin chicken versus thicker cuts is essential for cooking it correctly. Thin chicken breasts or cutlets cook much faster because of their reduced volume, which means they have little to no margin for error. Just one or two minutes too long, and they can turn dry, tough, or even rubbery.
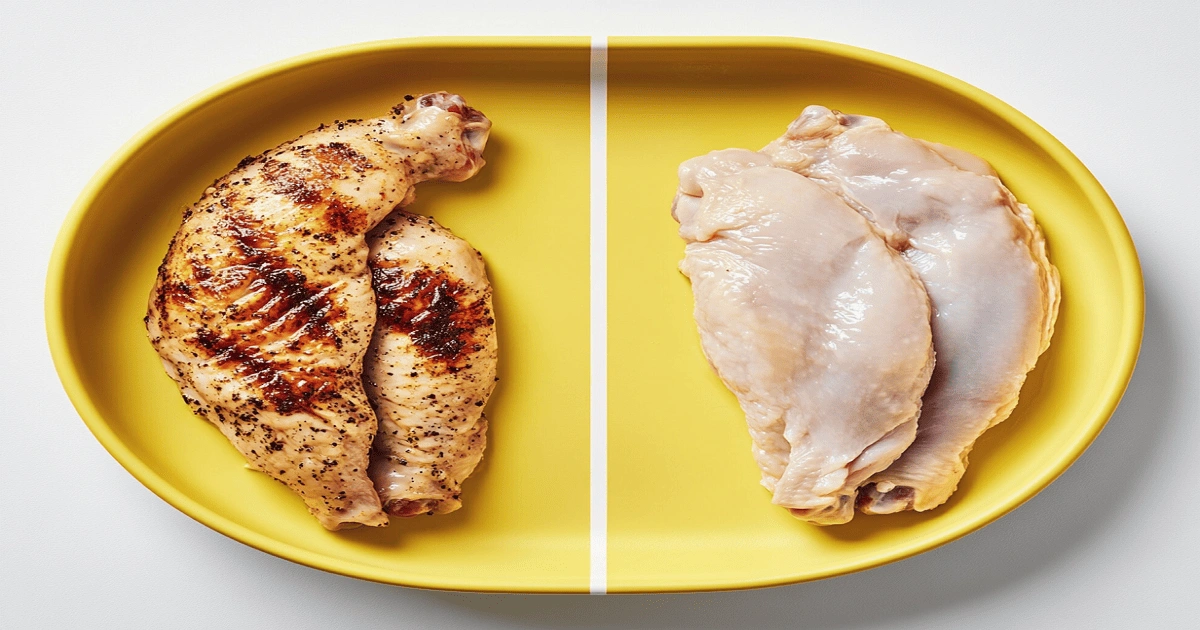
Unlike thicker pieces—like full chicken breasts or bone-in thighs—thin cuts don’t show doneness clearly. While a thick piece may retain a pink center even when it’s fully cooked to temperature, thin chicken should be completely opaque and white throughout. Any sign of pink in thin chicken often indicates it’s undercooked and potentially unsafe to eat.
Because of their small size, thin cuts require more frequent visual and tactile checks. You’ll need to rely on color changes, texture, juice clarity, and quick temperature reads to ensure perfection. Precision matters more when the margin is tight.
Is It Okay If Chicken Is a Little Pink?
In some thicker cuts, a light pink hue near the bone can be safe if the internal temp is 165°F. But with thin slices or cutlets, pinkness is a sign it’s not done. Always err on the side of safety and cook until white and firm throughout.
Troubleshooting Undercooked vs. Overcooked
| Problem | Signs | Fix |
|---|---|---|
| Undercooked | Pink center, slippery | Add 1–2 min cook time, cover pan |
| Overcooked | Dry, stringy, tight | Use sauce or broth next time |
| Inconsistent cook | Uneven thickness | Pound meat evenly before cooking |
Let’s Talk Tools: What Helps Most
To confidently know how do you know when thin chicken is cooked, having the right tools makes all the difference. First and foremost, an instant-read digital thermometer is essential. It gives you precise temperature readings in seconds, helping you hit the USDA-recommended 165°F without guesswork.

A sharp chef’s knife is just as important. It allows clean slices into the chicken without tearing or shredding the meat—critical when checking color and internal texture. For cooking, use a stainless steel or cast iron skillet. These materials distribute heat evenly, reducing hot spots that could lead to undercooked sections.
Timing is everything with thin cuts. Set a kitchen timer or phone alert to avoid overcooking, especially when multitasking. For bonus accuracy, use a meat pounder to ensure even thickness across each piece. Together, these tools make the cooking process more controlled, consistent, and reliable—every time you prepare thin chicken.
If you’re also wondering about texture and juiciness, our tutorial on how to cook chicken soft and tender is worth a read.
❓ FAQs: How Do You Know When Thin Chicken Is Cooked?
How to tell if thin sliced chicken is cooked?
Cut into the thickest part—it should be fully white and firm, with clear juices. If in doubt, use a meat thermometer.
How long does it take for thin chicken to cook?
About 3–4 minutes per side in a pan, or 15 minutes in a 375°F oven. Adjust based on thickness and method.
How to check if a chicken is cooked?
Use internal temp (165°F), color (white), and juice clarity (no pink). Press with tongs for firmness.
Is it okay if chicken is a little pink?
In thick cuts, maybe. But with thin chicken, pinkness usually means undercooked. Always ensure it’s white inside.
✅ Conclusion: No More Guessing with Thin Chicken
So, how do you know when thin chicken is cooked? It’s not just about time—it’s about observation, temperature, and technique. Watch for clear juices, opaque white meat, slight firmness, and use a thermometer when possible. Combine your senses with basic tools, and you’ll consistently serve tender, fully cooked chicken that’s safe and satisfying.
No more guessing, no more dry or raw spots. Whether you’re grilling, baking, or pan-searing, knowing the exact signs of doneness turns you into a more confident cook. Now you have everything you need to make thin chicken both safe and delicious—every single time.
